
How to Make a Sourdough Starter (Step-by-Step, Day-by-Day)
If you love crispy sourdough bread, everything starts with a strong, active sourdough starter.Perfect tangy flavor and chewy texture, you’ll be happy to know you can absolutely make it at home. But before you can bake an amazing loaf, you need one thing first: a strong, active sourdough starter.
A good starter is the foundation of everything. And in this post, I’ll show you exactly how to build one step by step—so it becomes bubbly, reliable, and ready for baking.
I won’t pretend it’s an instant “done in 5 minutes” project (it takes a bit of patience), but it’s so worth it. Once your starter is established, you’ll be able to put fresh, homemade, additive-free bread on the table for yourself and your family—again and again.
Let’s get started.
What you need
- Whole grain flour (I used rye, but whole wheat works great too. If you don’t have whole grain flour, that’s okay — you can still do it with bread flour.)
- Bread flour (BL80 / strong bread flour)
- (I recommend it because it has higher gluten content, but if you only have one type of flour, that’s fine — just use what you have consistently.)
- Water (mineral water or tap water both work — if using tap water, let it sit for 30 minutes before using)
- A clean glass jar (washed and rinsed with warm water)
- A wooden spoon handle (or wooden spoon) for mixing
- (optional, but I like using wood for starter)
- A lid (placed on top, not screwed on tightly)
- A scarf / towel to wrap the jar
- A warm, draft-free spot (ideal temperature: 26–28°C / 79–82°F)
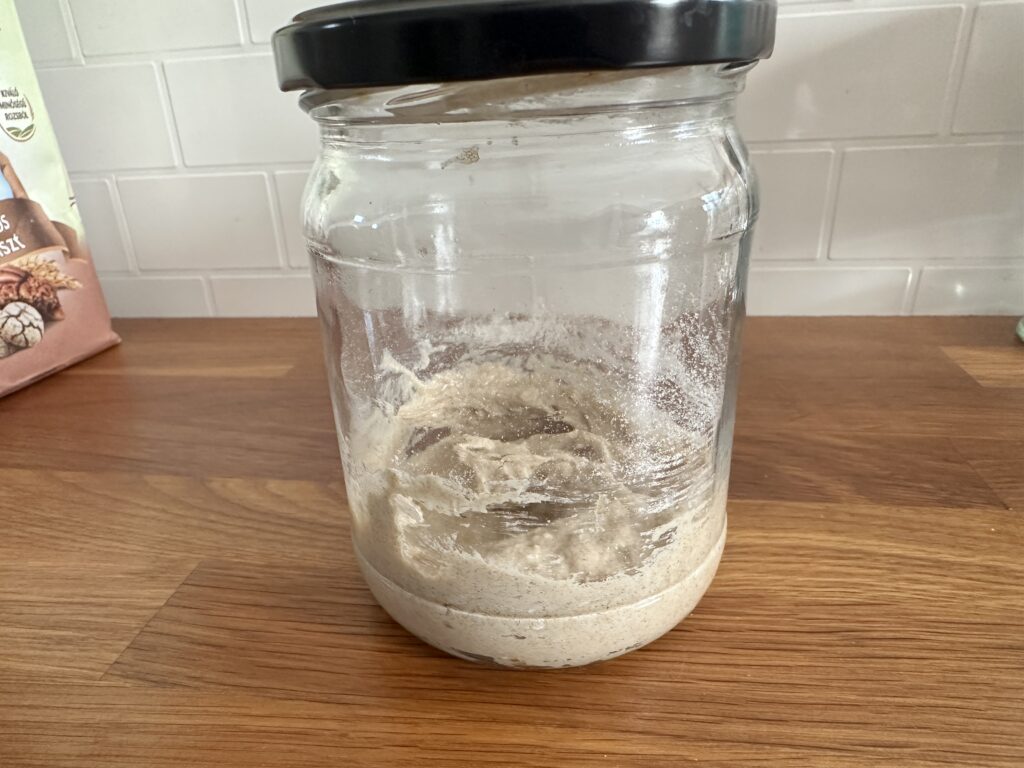
Day 1
In a clean jar, mix:
- 50g Whole grain flour
- 50g lukewarm water
Mix with the handle of a wooden spoon until smooth.
Place the lid on top (don’t tighten it), wrap the jar in a scarf or towel, and keep it in a warm, draft-free place. Let it rest for 24 hours.
Day 2
After 24 hours, check your starter.
If you see bubbles and the texture looks a bit looser, it’s time to feed it.
Feed (transfer method)
- Take a clean jar (washed and rinsed with warm water).
- Stir your starter, then spoon 50g of the starter into the new jar (use a wooden spoon).
- Add:
- 25g water
- 25g flour
Mix well, place the lid on loosely , and rest another 24 hours.
If it’s not bubbly yet
No stress. Stir the starter, cover loosely, wrap it, and give it another 12–24 hours before feeding again.
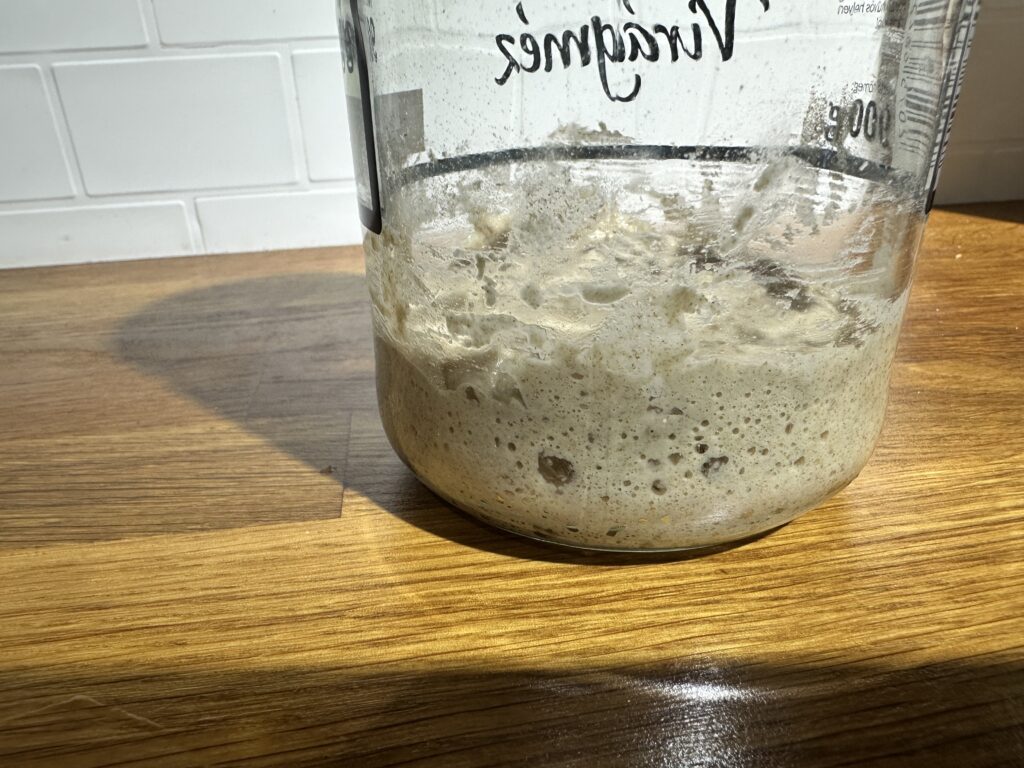
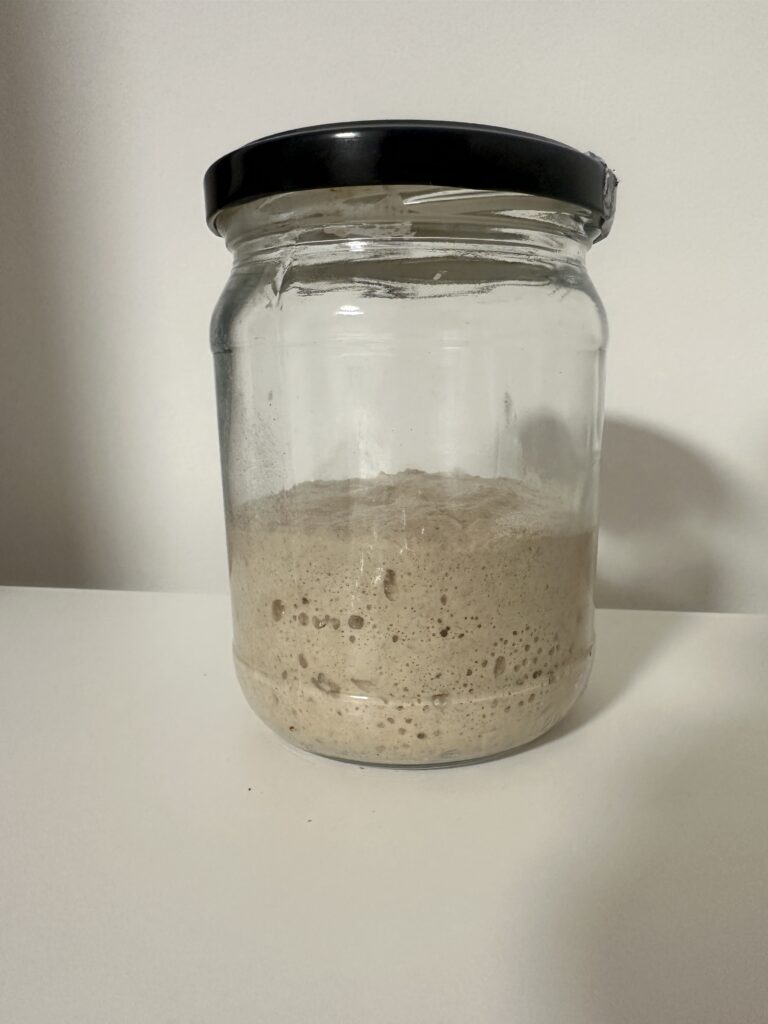
Day 3
After 24 hours, your starter usually starts to rise more. It should be bubbly and begin to smell slightly tangy (some people say “sour” — however you like it!).
Repeat the feeding process:
- 50g starter + 25g water + 25g flour
Mix, cover loosely, wrap, and rest 24 hours.
Day 4
Feed again the same way:
- 50g starter + 25g water + 25g flour
Mix, cover loosely, wrap, rest 24 hours.
Day 5
Feed again.
If everything is going well, you’ll start to notice:
- how much it rises after feeding
- and that it may sink back down later
When it rises and then collapses, that means it’s “hungry” and needs feeding.
From this point on, check it about every 12 hours. If it starts to look sad (collapsing/deflating), feed it using the same method.
Day 6
Now you’ll usually feed twice a day (morning and evening).
Yes… that’s a lot of jar washing — yay
Day 7
Continue feeding twice a day.
If your starter is very active and hungry, you can feed it three times a day, but most starters do well with twice daily feedings.
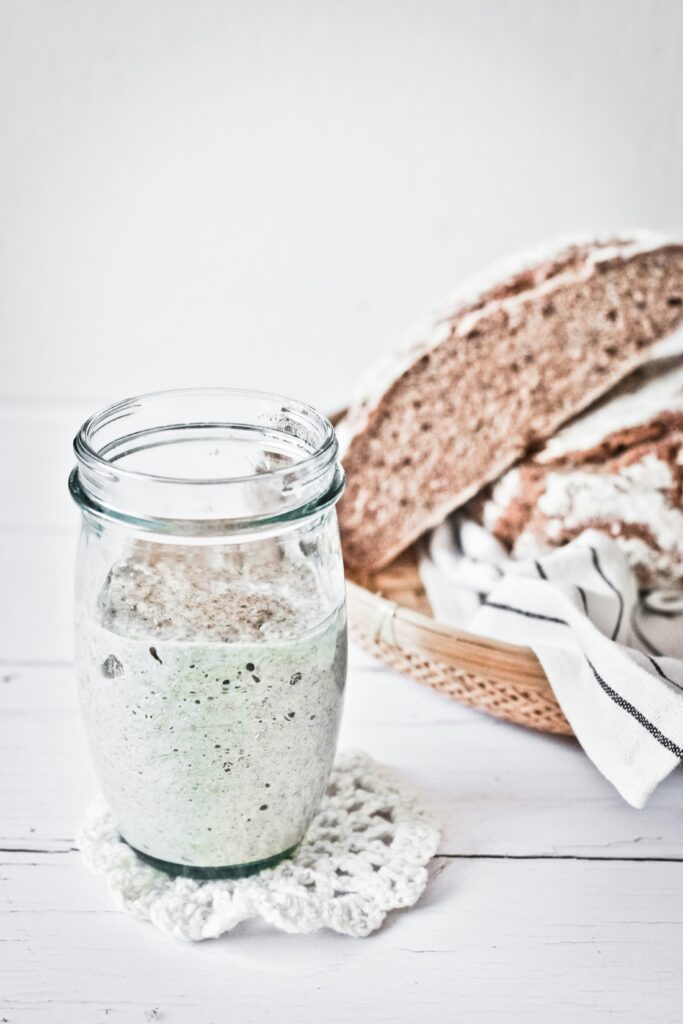
Day 8 — Your starter is ready!
Your sourdough starter is usually strong enough to bake with when it:
- rises 2–3x in volume after feeding
- looks strong and “stringy” inside
- has lots of bubbles and a pleasant sour smell
At this point, you can split it into:
- the portion you’ll use for baking
- your mother starter (the starter you keep long-term)

How to prepare starter for baking (example)
If you need a specific amount for bread baking, take that amount into a clean jar and feed it.
Example (for a spelt loaf):
- take 35g starter
- feed with 70g water + 70g flour
- cover loosely and let it rise in a warm spot for 8–10 hours
Then you can start mixing your dough.
How to keep a mother starter
Always keep 30–50g starter as your mother starter.
Feed it at a 1:1:1 ratio:
- 50g starter + 100g water + 100g flour
Mix, cover loosely.
If you’re not baking soon:
Put it in the fridge, where fermentation slows down.
In the fridge, you only need to feed it about once a week.
When you want to bake:
- take it out
- refresh/feed it
- use part for baking
- feed the remaining part and return it to the fridge
And that’s it — you have a sourdough starter!
Next step
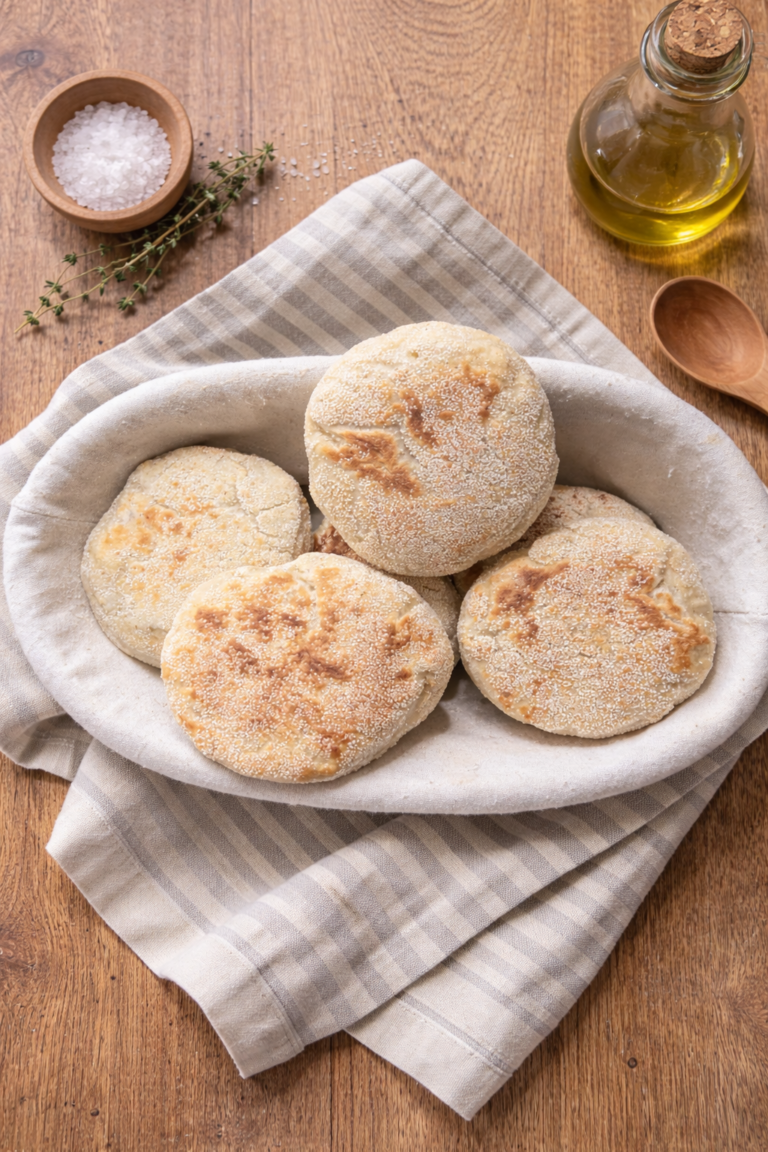
Once your starter is active, you can bake a loaf.
👉 Next: Beginner Sourdough Bread Recipe (Soft Inside, Crispy Crust)

Wish it can use normal weights ie: cups, tbsp etc. never was good at math 🙄
“Normal” weights are not accurate. Using weight ensures accuracy which can be crucial in baking. Using weight is exact, using cups could be loosely, moderately, or tightly packed, which is 3 different measurements. It’s simple addition and it’s an easy practice if you’re bad at math!
I’m sorry, but sourdough requires very precise ratios to keep the starter healthy. If the proportions aren’t right, the starter might not develop properly.
Use a scale. I had always used USA standard measurements but have found using a scale is way more accurate. You do not need to convert to US standards.
It’s working! I’m on day 2 just fed .
so excited
I’m so happy for you! I wish you great success. 🙏🏼🌸
[…] sourdough starter. If you don’t have one yet, you can find my simple sourdough starter recipe HERE. Make sure to start it about 7 days before baking. I usually feed my starter with either 100% rye […]
It’s going to be ending of mine day, except before ending I am reading this fantastic post to increase my knowledge.
I’m following the exact measurements, by using a scale, but it seems to be runny. Is this okay? The room it’s in is warm, im using a glass jar with a loose lid… could I be missing something?
Thanks:)
I have a couple of quick questions — how old is your starter, and what kind of flour are you using? That will help me give you better advice. Thans 🙂
Day 3 at the time of my question. And bread flour 🙂
Is the flour you’re using whole grain? If not, I’d definitely switch to whole grain oat or whole wheat flour during feeding. It has a denser texture, so your starter won’t be as runny.
If that still doesn’t work, try feeding your starter more strongly, for example: 20g starter,60 water,60g whole grain flour.
Let me know how it turns out 🙂
What size jars are you using to make the starter
I usually start my sourdough starter in an 8 oz (half pint) jar, and around day 3 I switch to a 16 oz (pint) jar.
But honestly, it doesn’t matter that much—the important things are consistent feeding.
If you have any more questions, I’d be happy to help 🙂
Thank you. I was afraid a pint would be too small
Everithing is fine:)